Have you tasted daifuku (mochi)?
Daifuku is one of the most famous Japanese sweets. It has soft and a little chewy skin which is made from sweet rice flour, shiratamako in Japanese. Usually we put sweet bean paste (red bean jam) in it.
However, you can put your favorite contents in it such as seasonal fruit. When you have fresh strawberry, that’s the best choice for daifuku!
Today I will show you the easiest recipe for making special daifuku with tasty strawberry. By using microwave, you can make great strawberry daifuku super easy and quick!
【Recipe for Strawberry Daifuku】
Ingredients (8 of daifuku) *gluten-free
3.5 oz (100g) Shiratamako (sweet rice flour)
5 teaspoons (20g) sugar
0.6 cup (150ml) water
Potato starch as needed
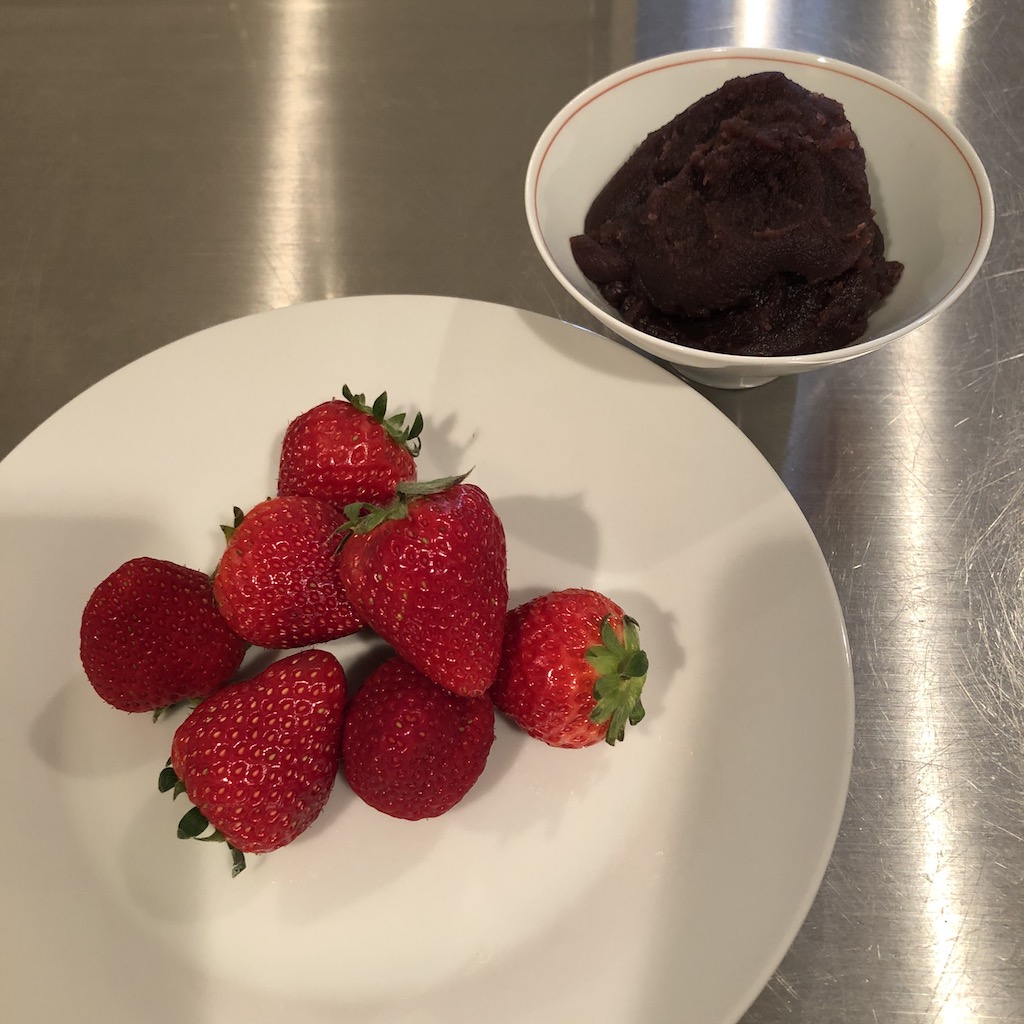
8 strawberries
6 oz (175g) sweet bean paste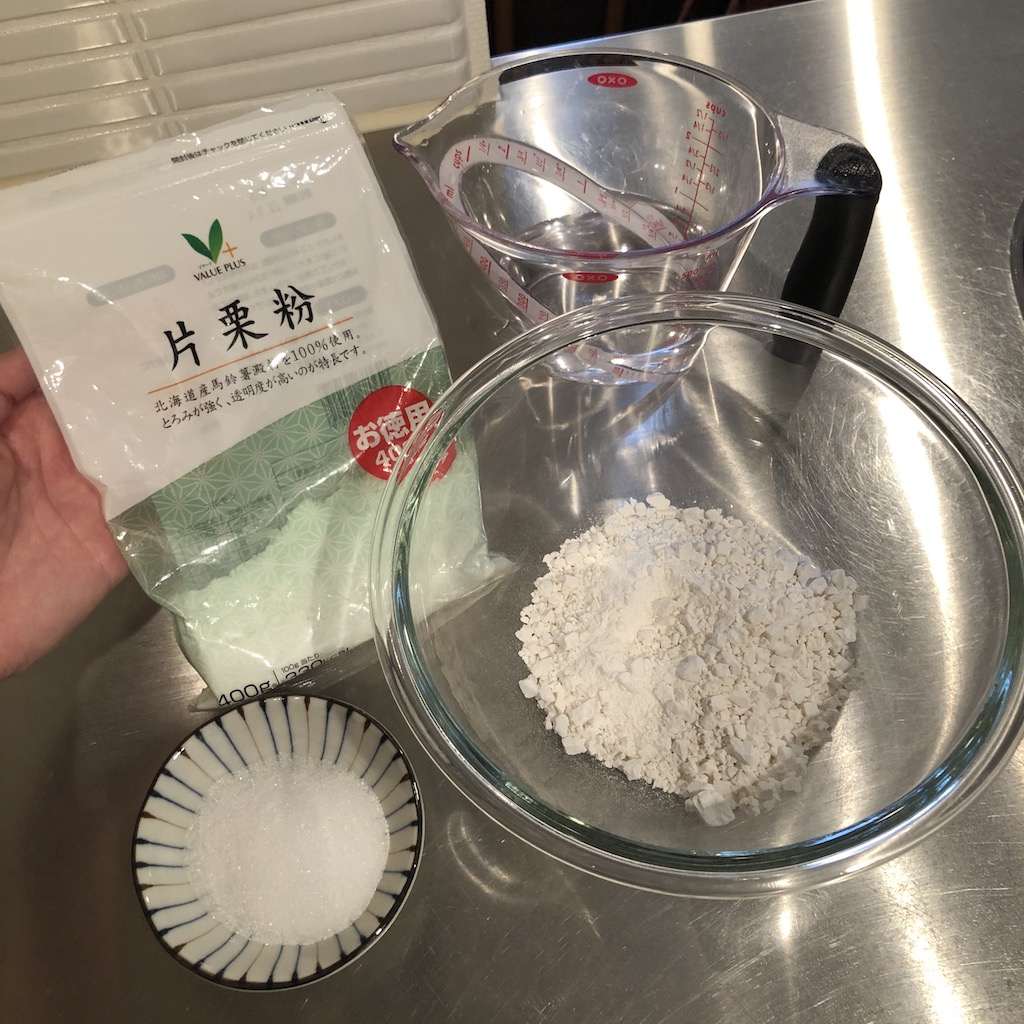
About Shiratamako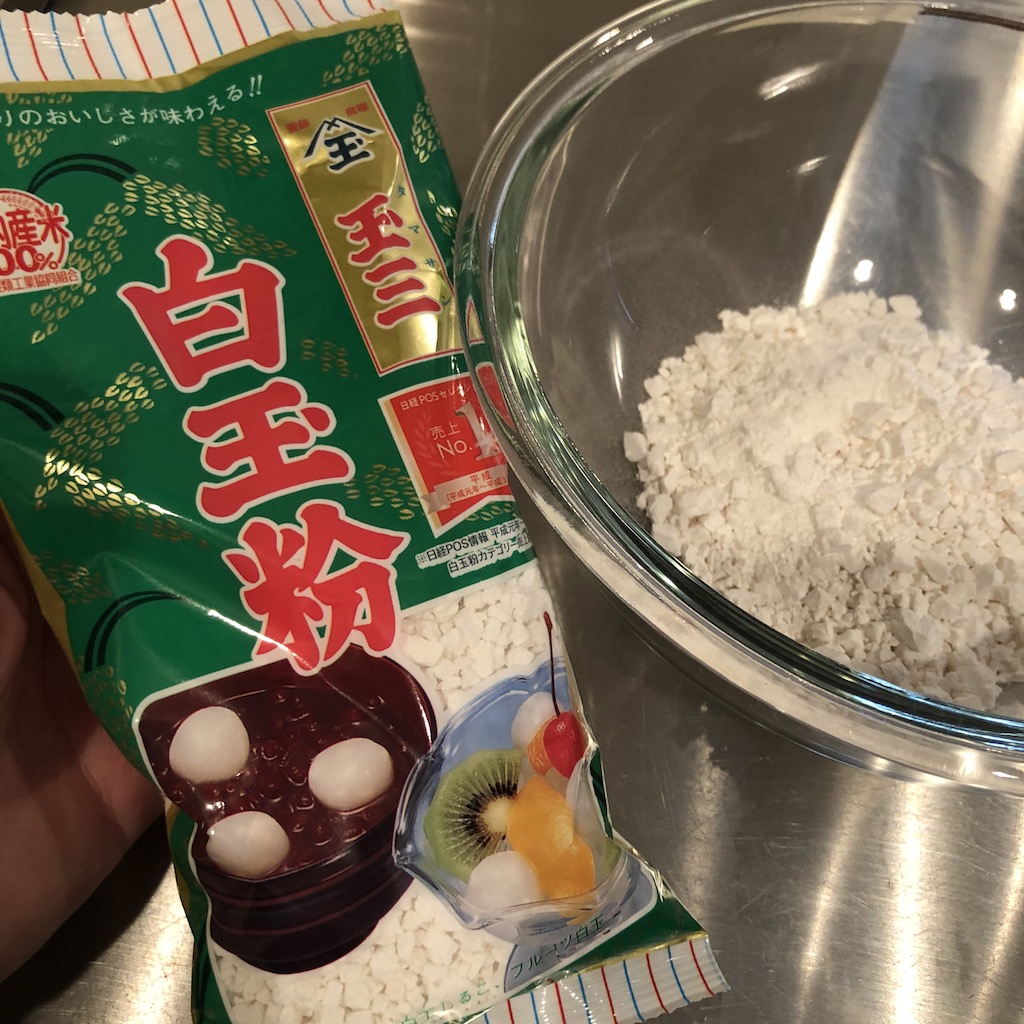 Shiratamako is also called sweet rice flour.
And it’s made from glutinous rice, mochigome in Japanese.
It’s the most important powder to make mochi, so please get this.
About Sweet bean paste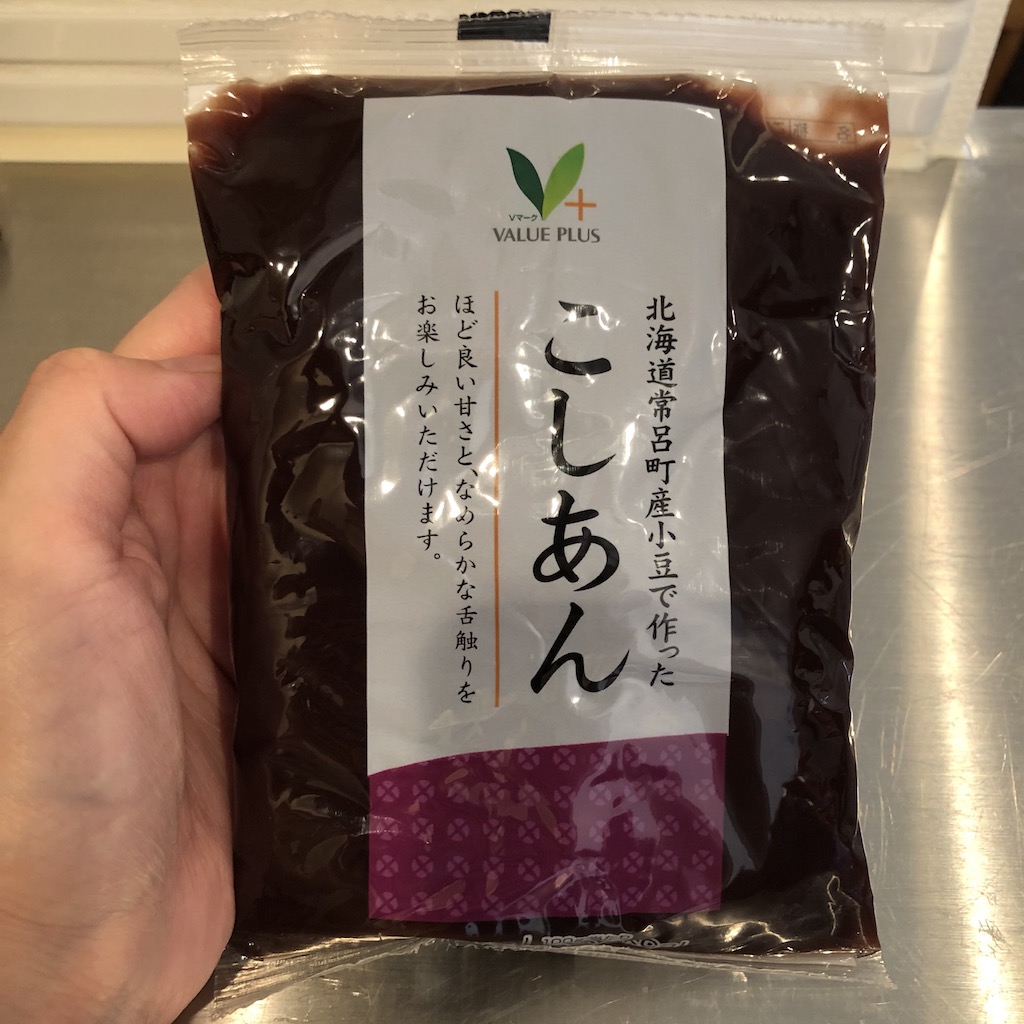 You can make this paste from scratch using red beans (azuki), and sugar. But it takes more than one hour, so I just bought this. It’s much easier and very tasty.
Directions
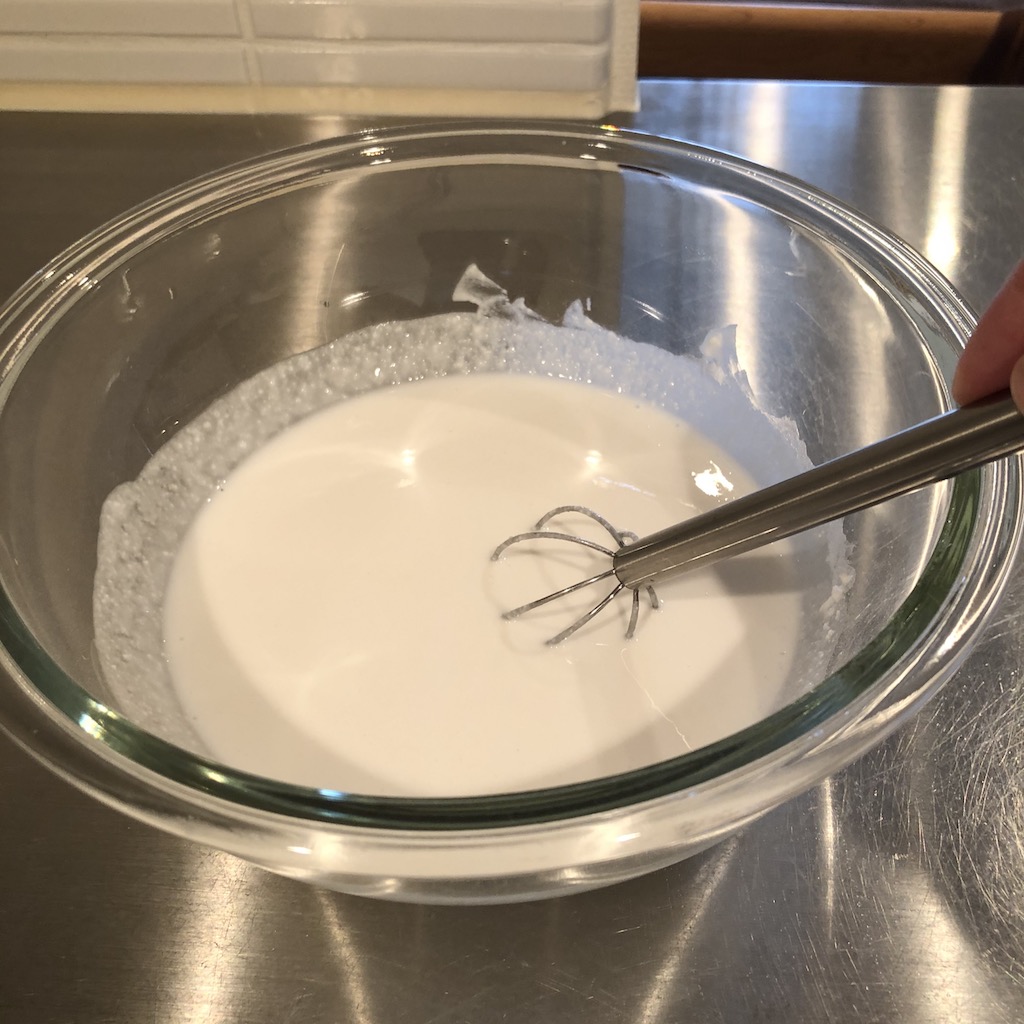 1. Prepare heat resistance bowl, and put shiratamko, sugar, and water.
Mix until smooth. (You can pour water at one time. It’s easier to stir well.)
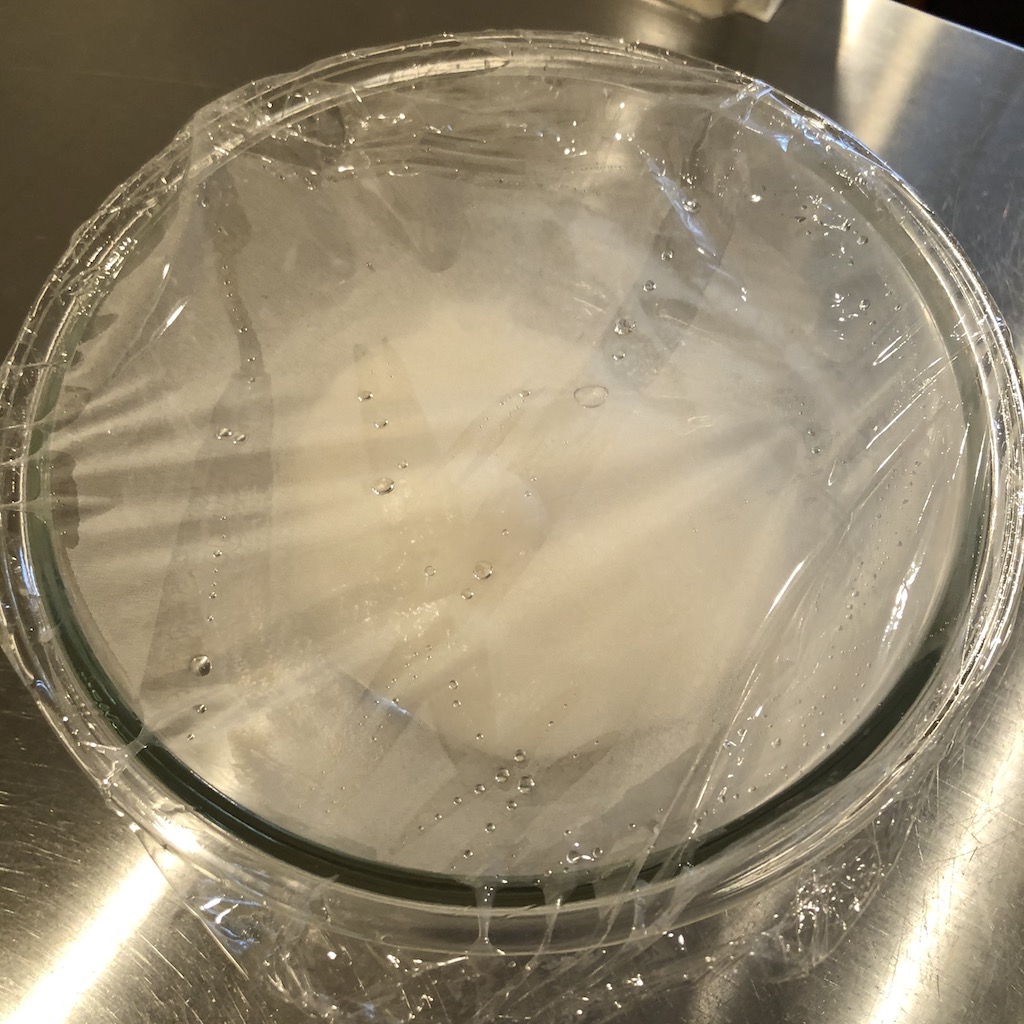
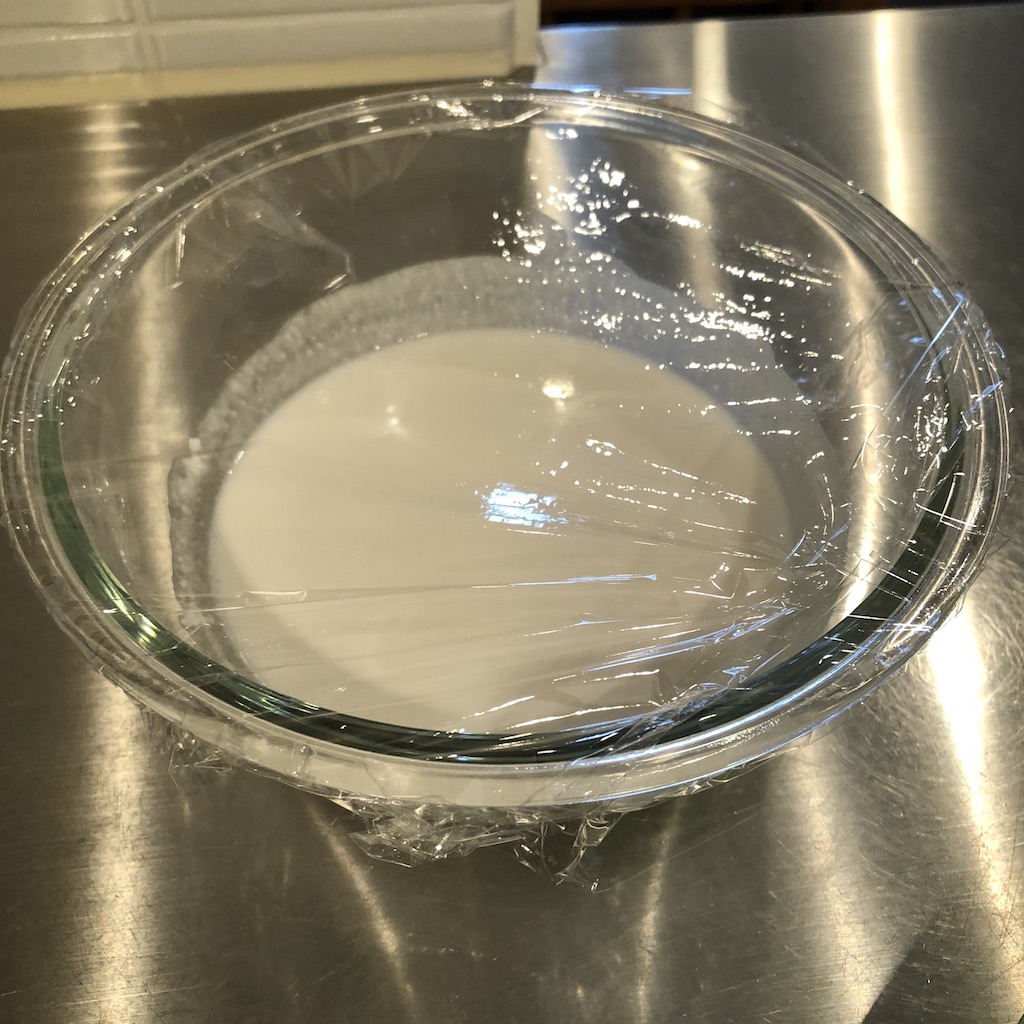 2. Loosely wrap with plastic wrap, and cook in microwave at 500W for 3 minutes.
If your microwave could do that at above 1000W, please cook it for half or less (1.5minutes or less).
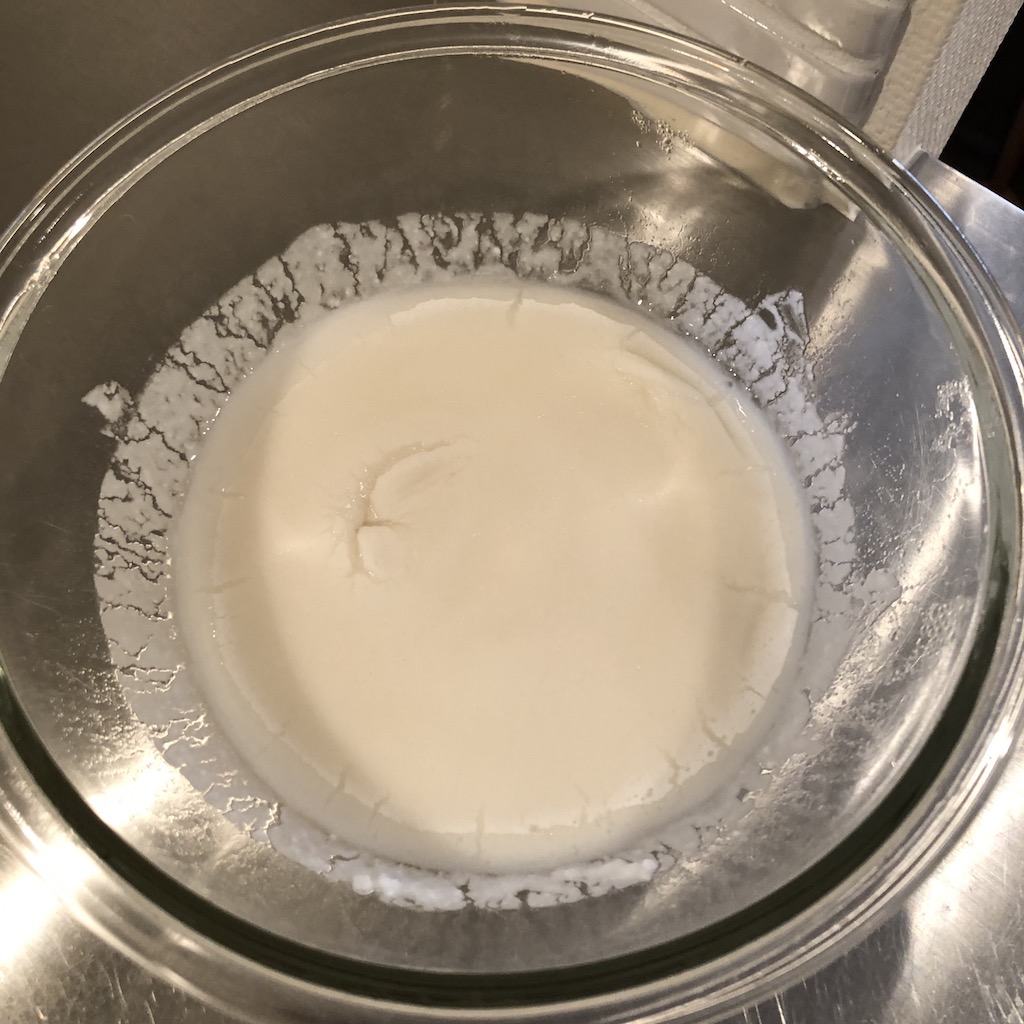
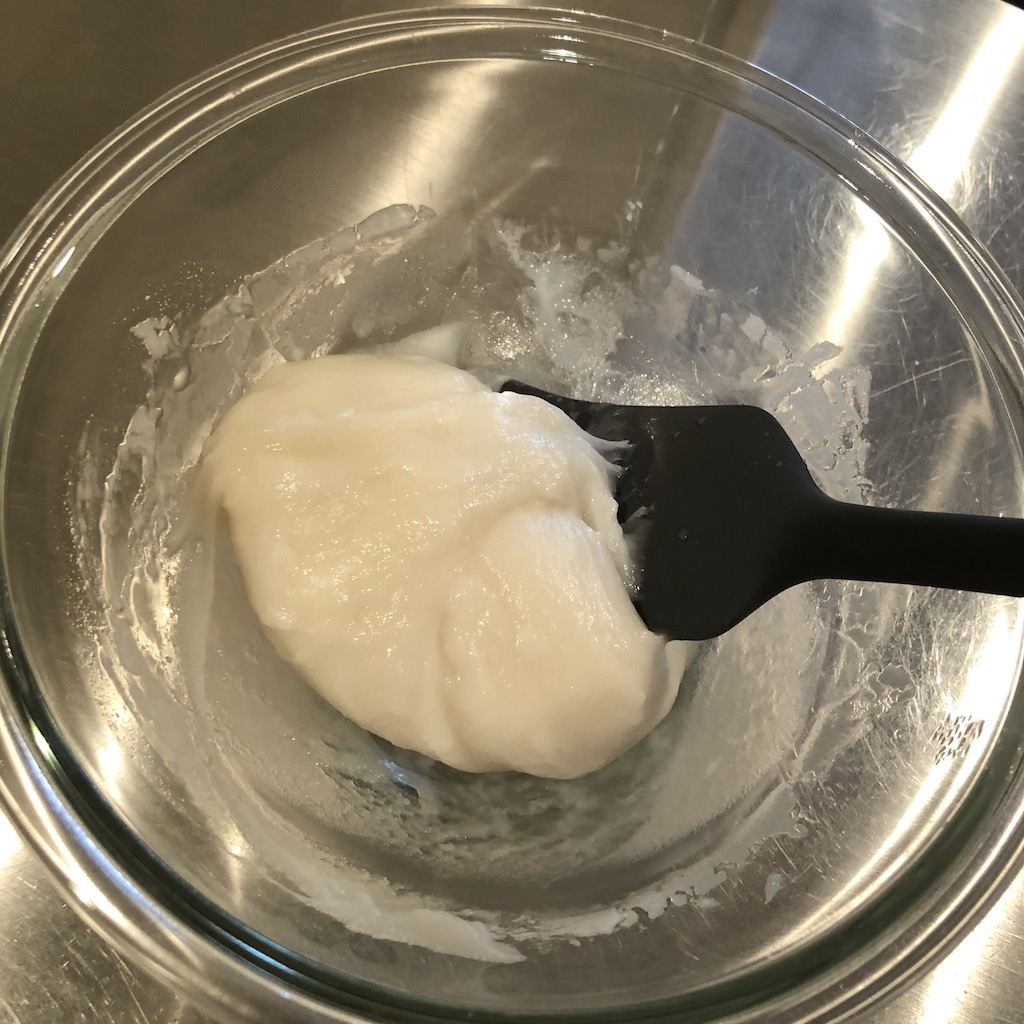 3. After 3 min, remove it from microwave very carefully. (It’s so hot!)
Put water on spatula, and stir mochi dough with it quickly. If mochi dough stick to the spatula, put more water.
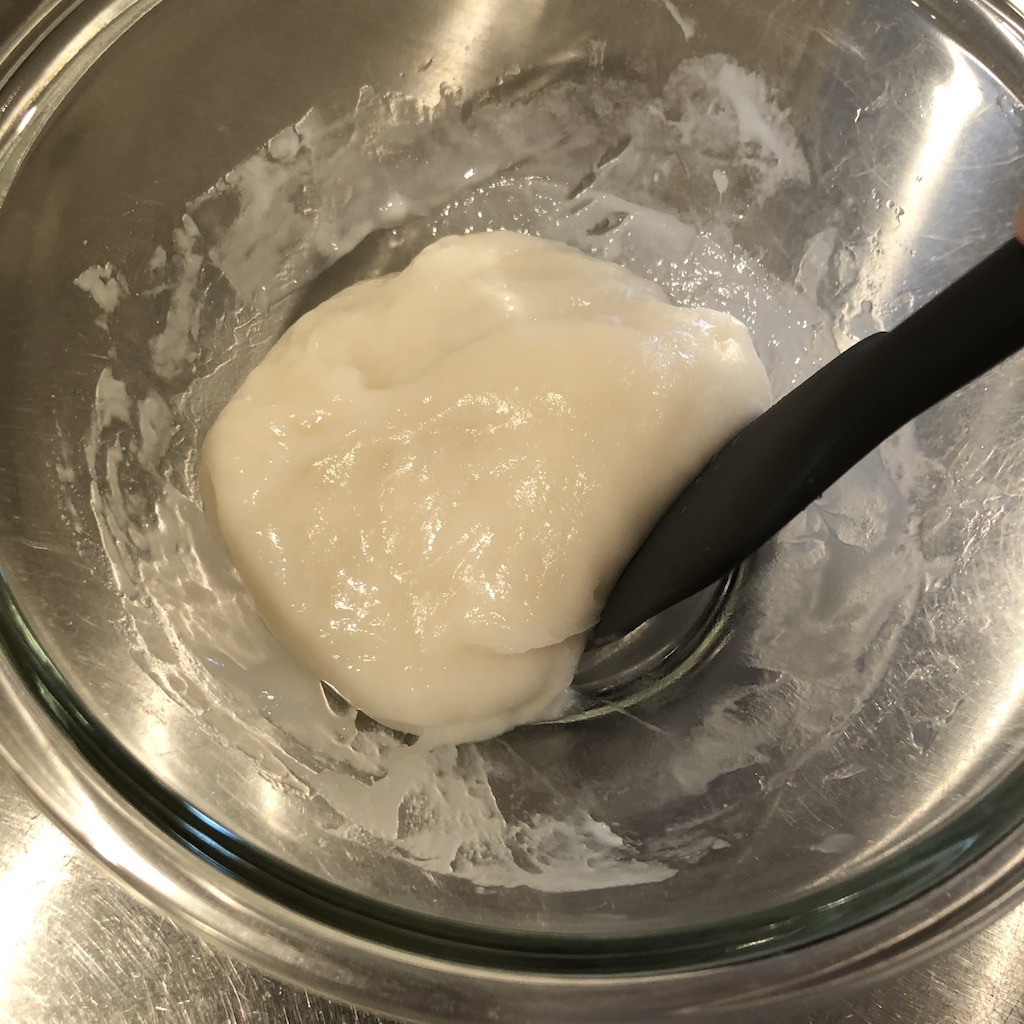
 4. Loosely wrap with plastic wrap again, then cook for 1 minute this time.
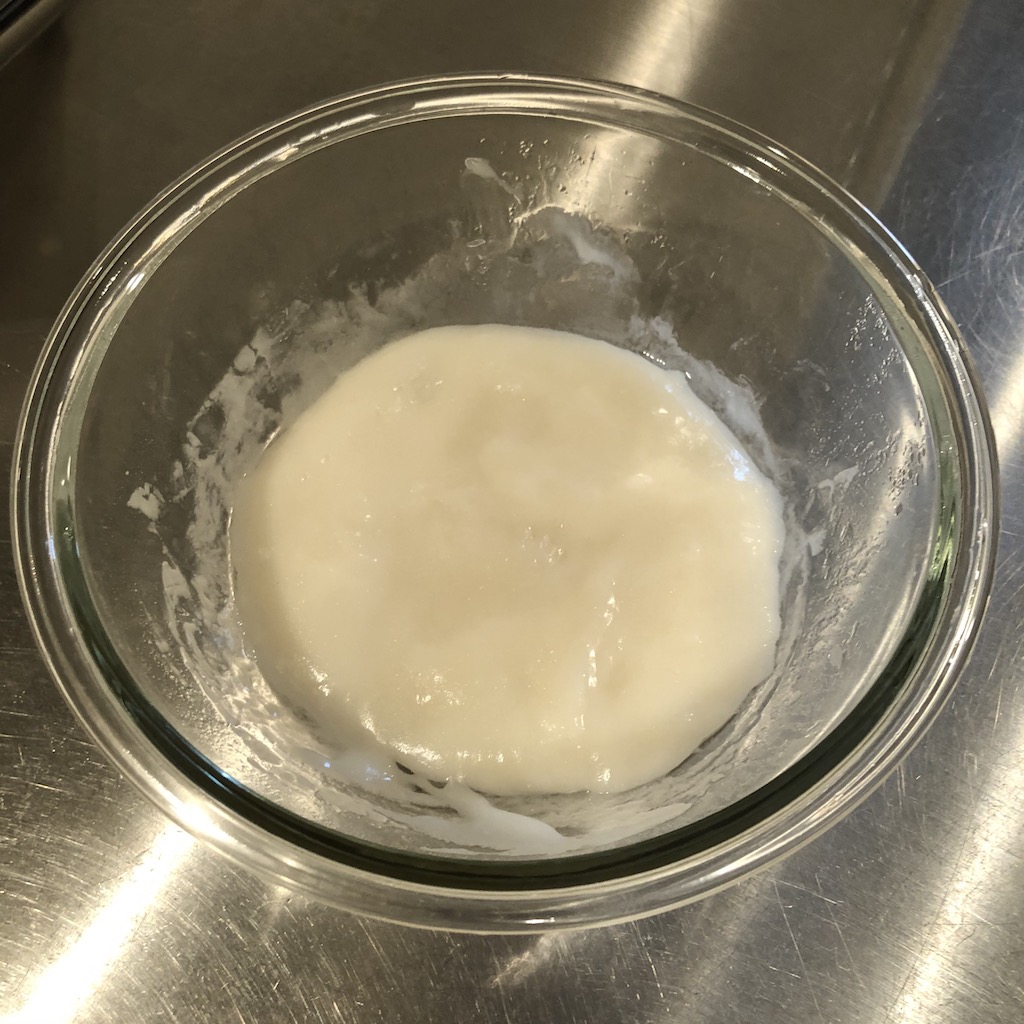
 5. Again, put water on spatula, and stir mochi dough with it quickly.
The mochi dough gets a little bit smoother and more clear.
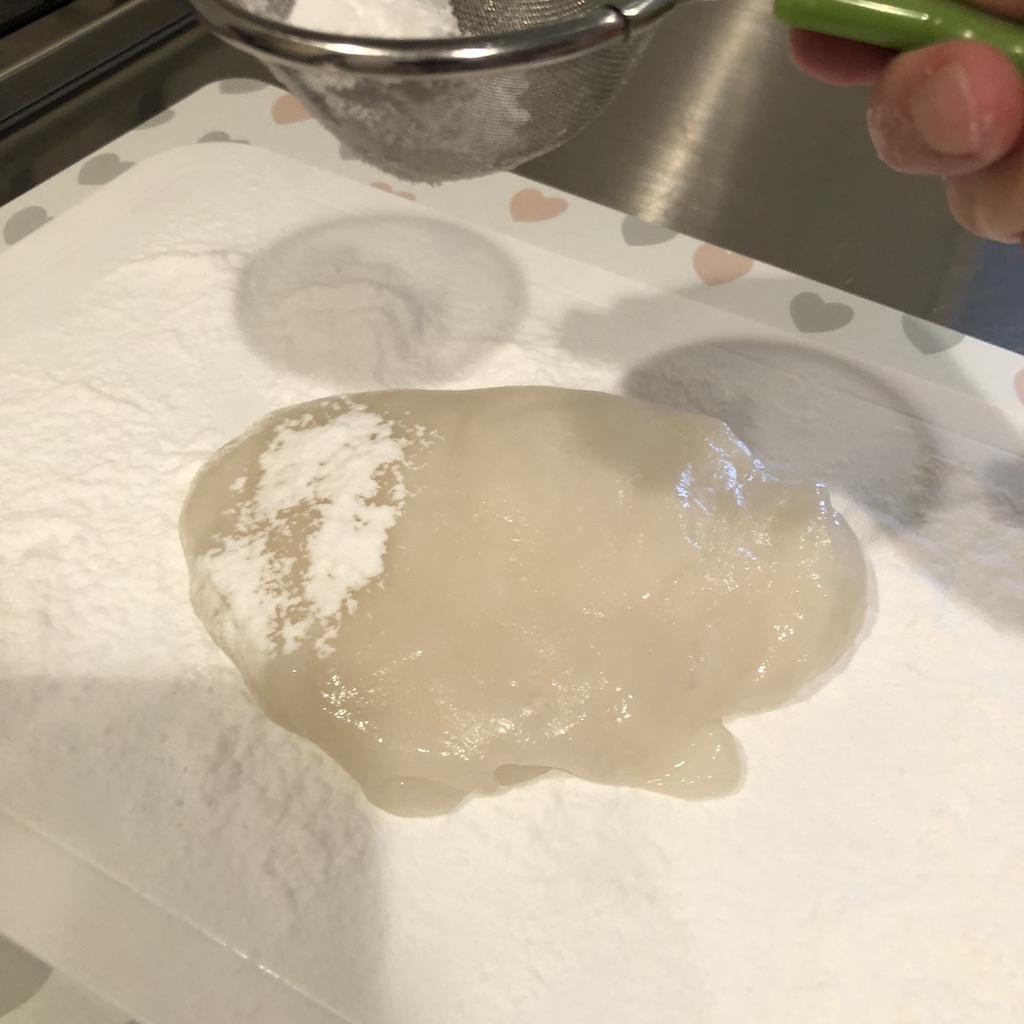 6. Dust your work surface using potato starch. (You can use corn starch if you don’t have one.)
Then transfer mochi dough, and dust the top as well.
Make sure to dust very well or it will stick so much.
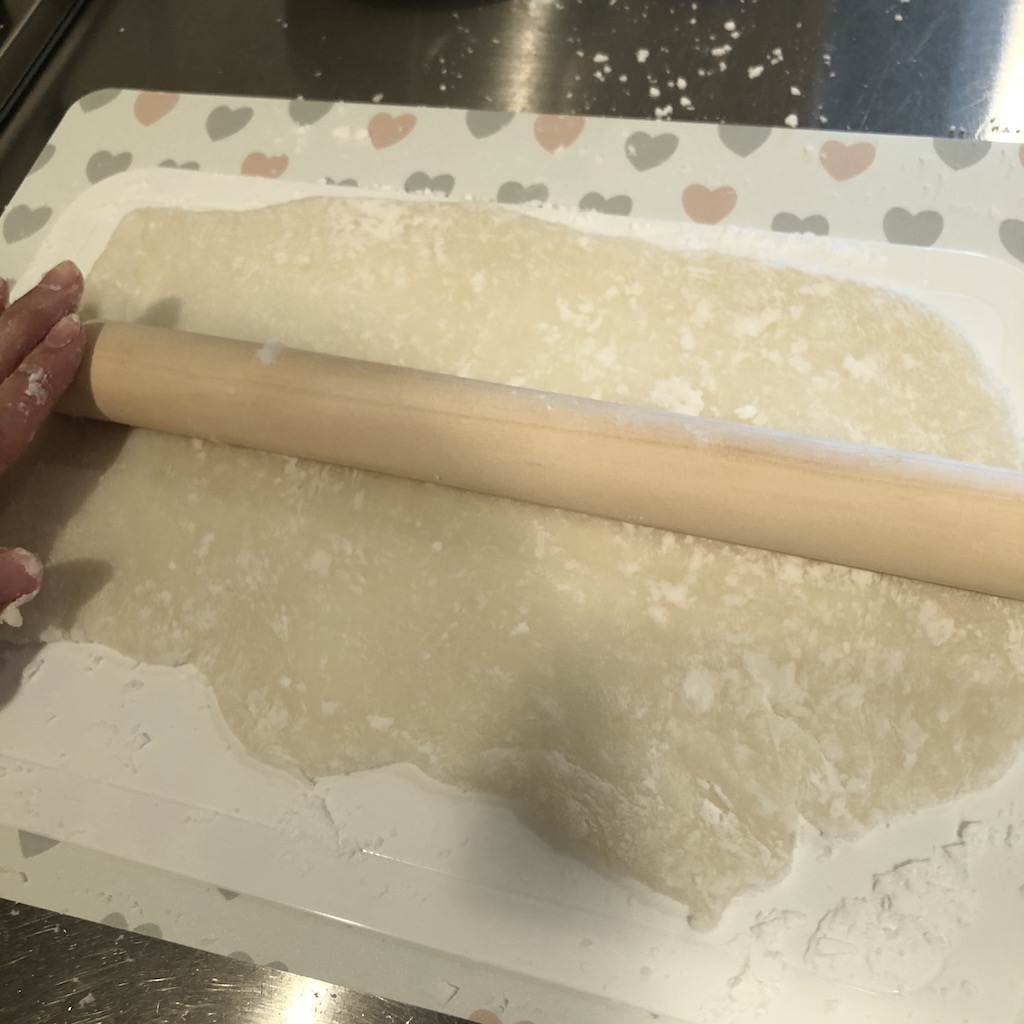 7. Spread the dough into thin layer with rolling pin. The thickness should be about 0.1 inch (2-3 mm).
If your dough stick to the work surface while spreading, put more potato starch.
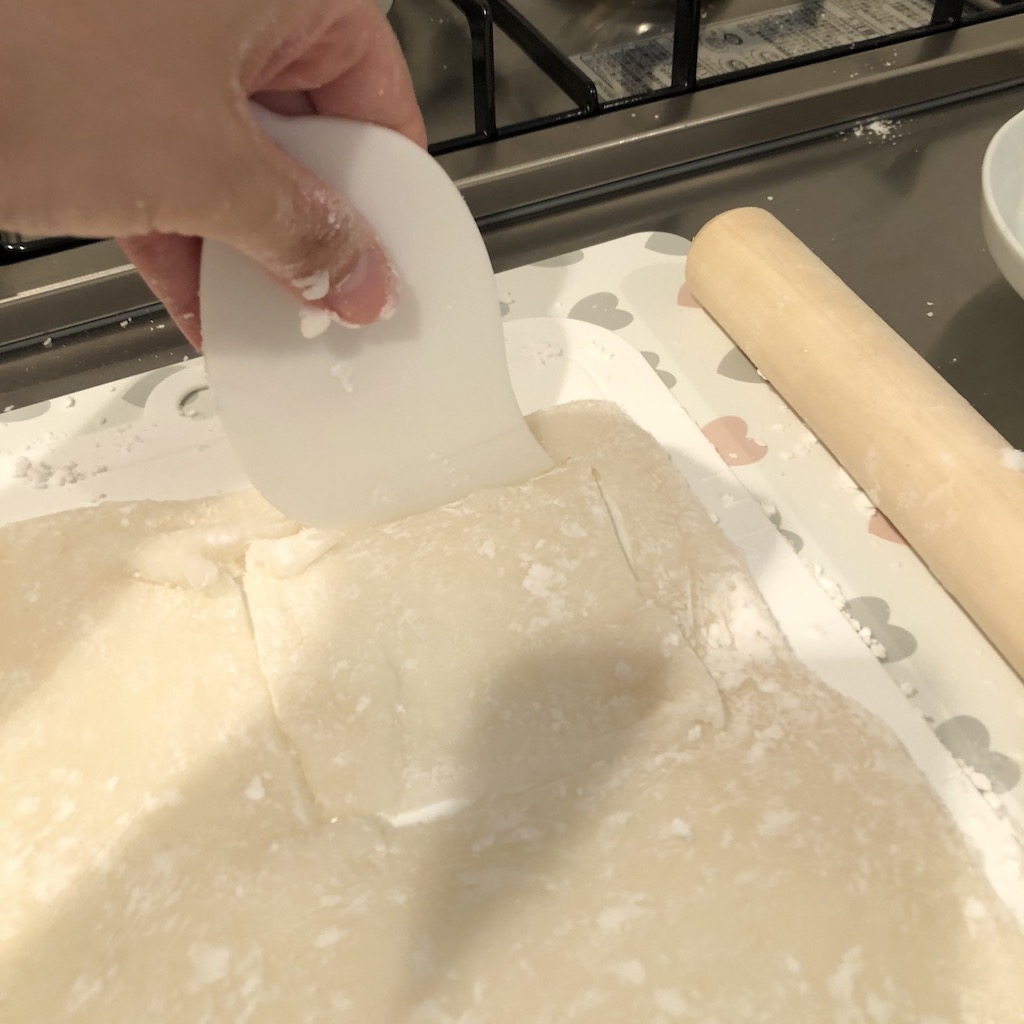
 8. Cut out the dough into 3-4 inches square*.
*Round is fine, but I recommend to cut into square. In this way it’s easier to assemble and the bottom of daifuku will not be too thick.
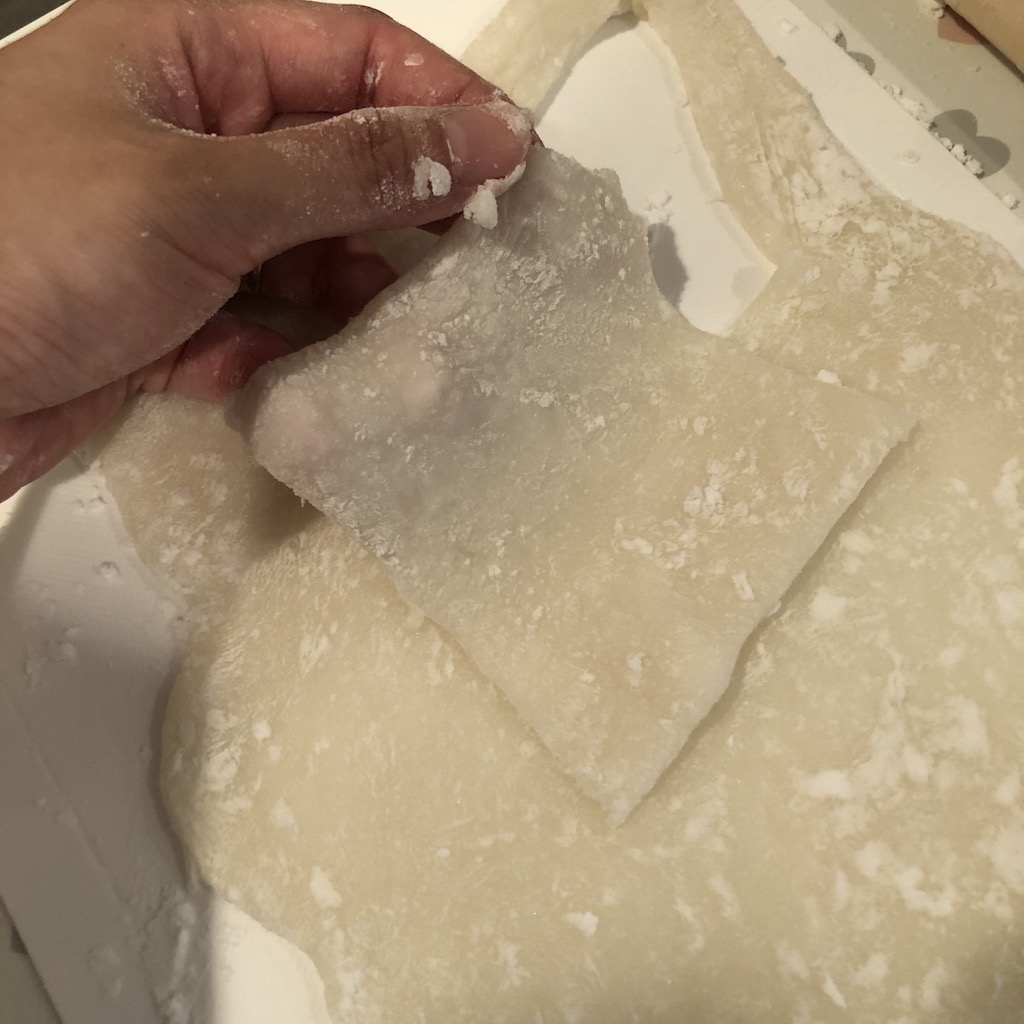
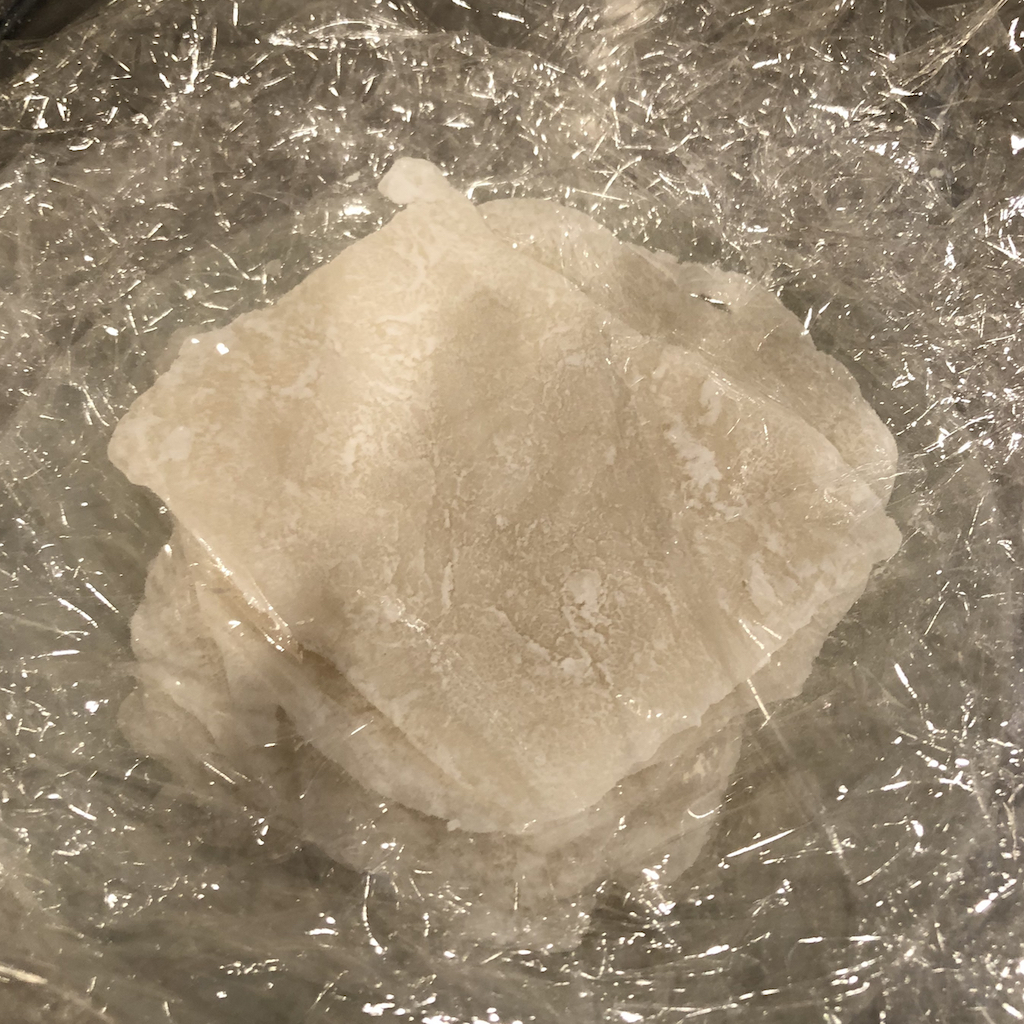 9. I made 8 of them. Dust off both sides with pastry brush.
Then put them on a plate. In order to avoid stick to each other, put plastic wrap between every single mochi just like the picture above.
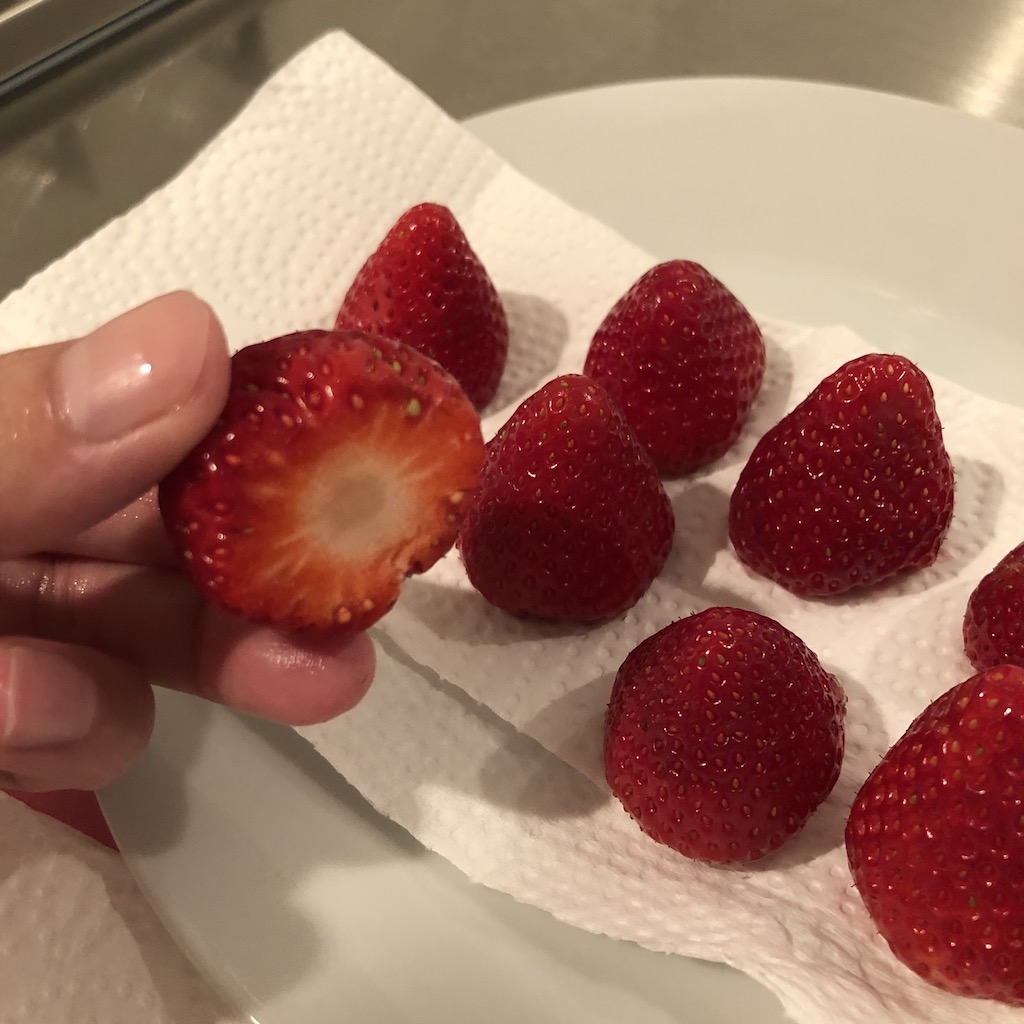 10. Take off the green leaf and wash strawberries.
Hull strawberries and pat dry with paper towel very well.
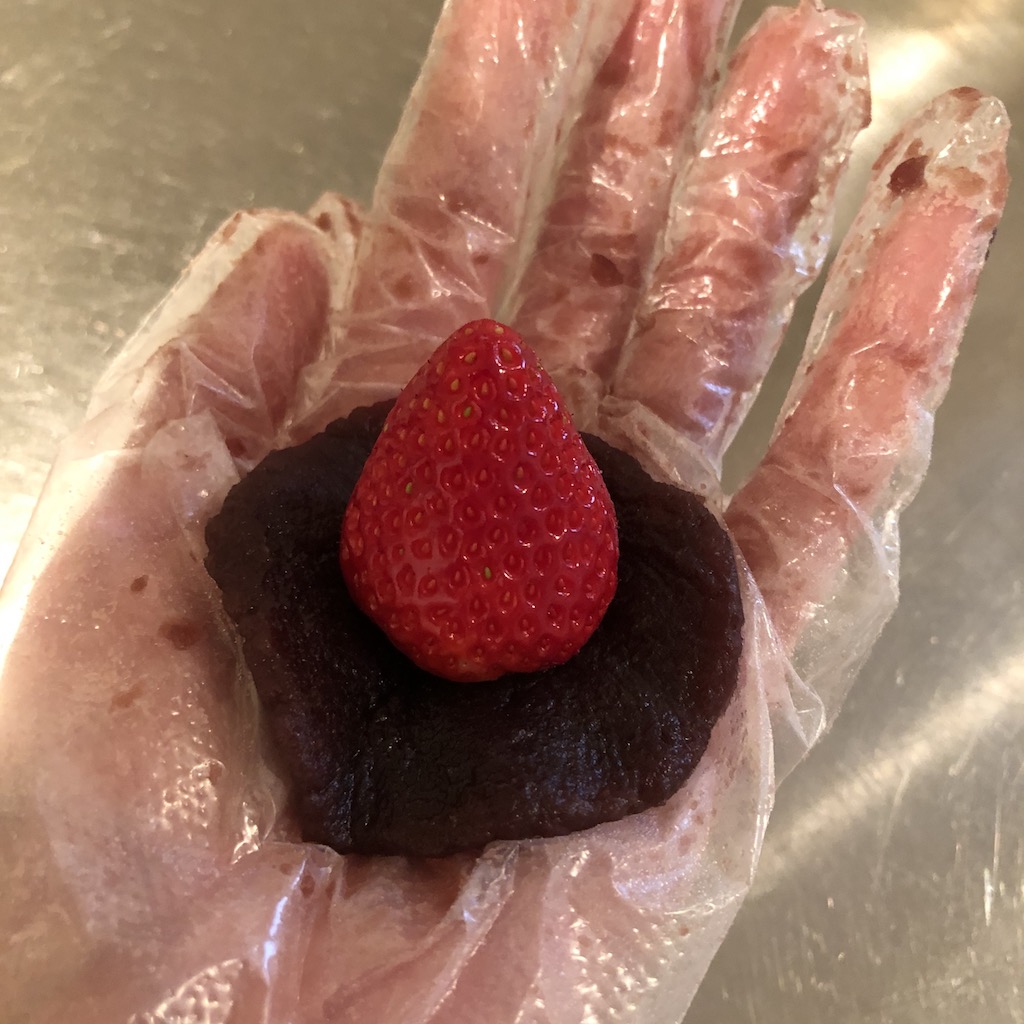
 11. Wrap strawberries with sweet bean paste.
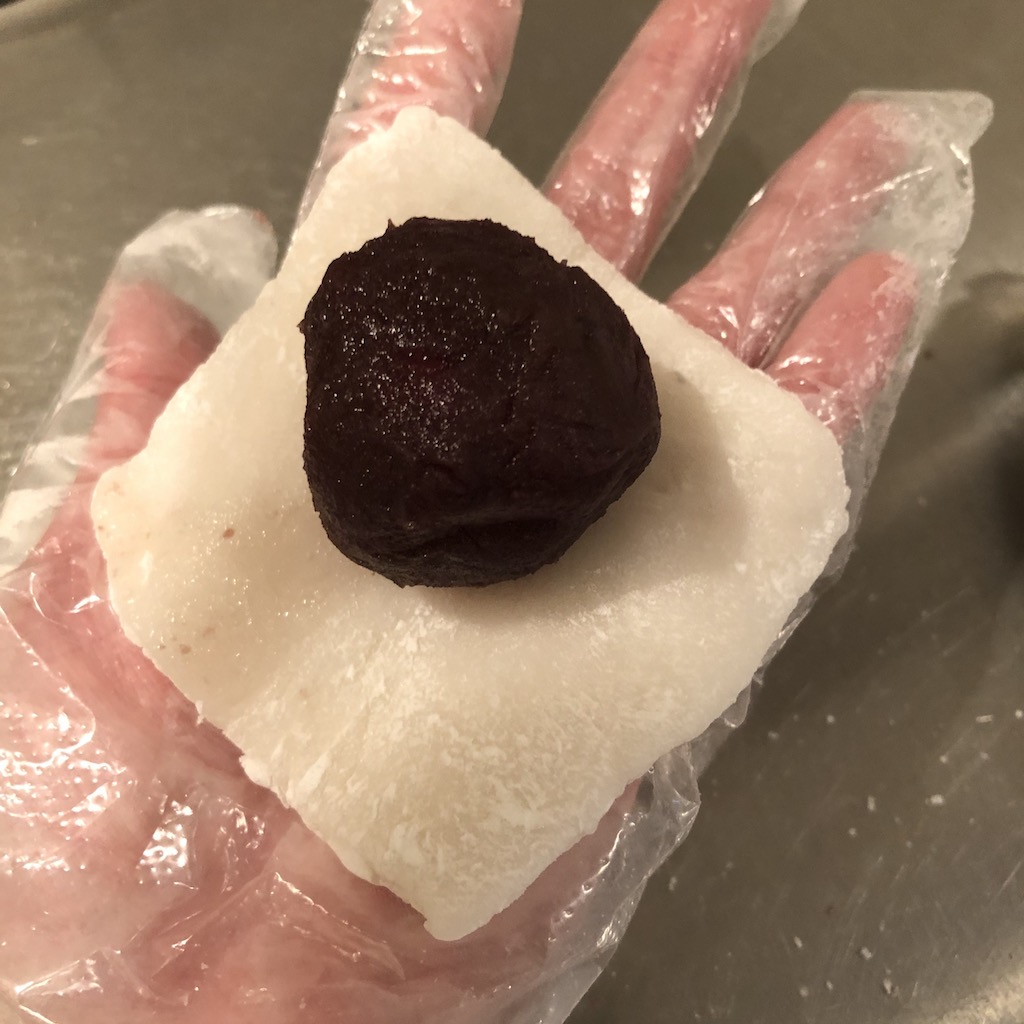
 12. Place the ball of strawberry and sweet bean paste on to the mochi dough. (Make sure the leaf side will be the bottom of daifuku.)
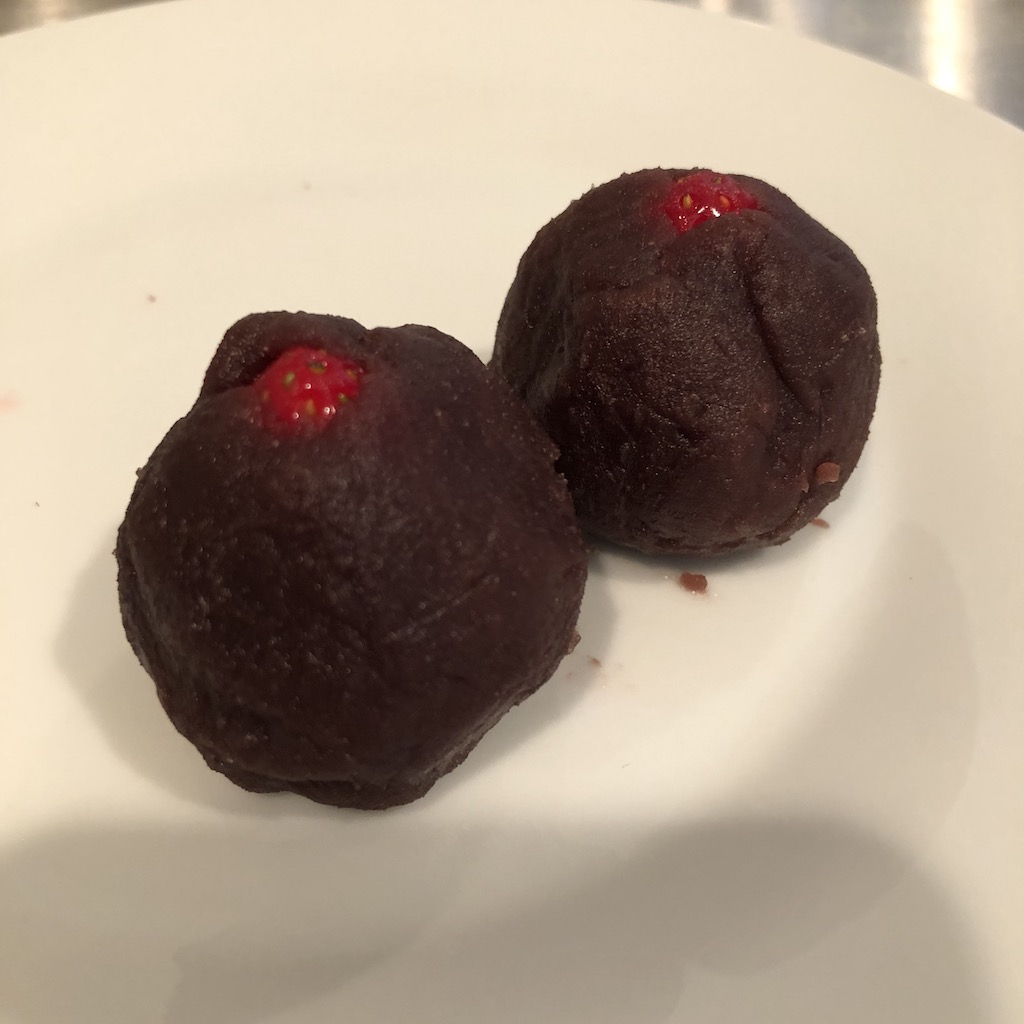
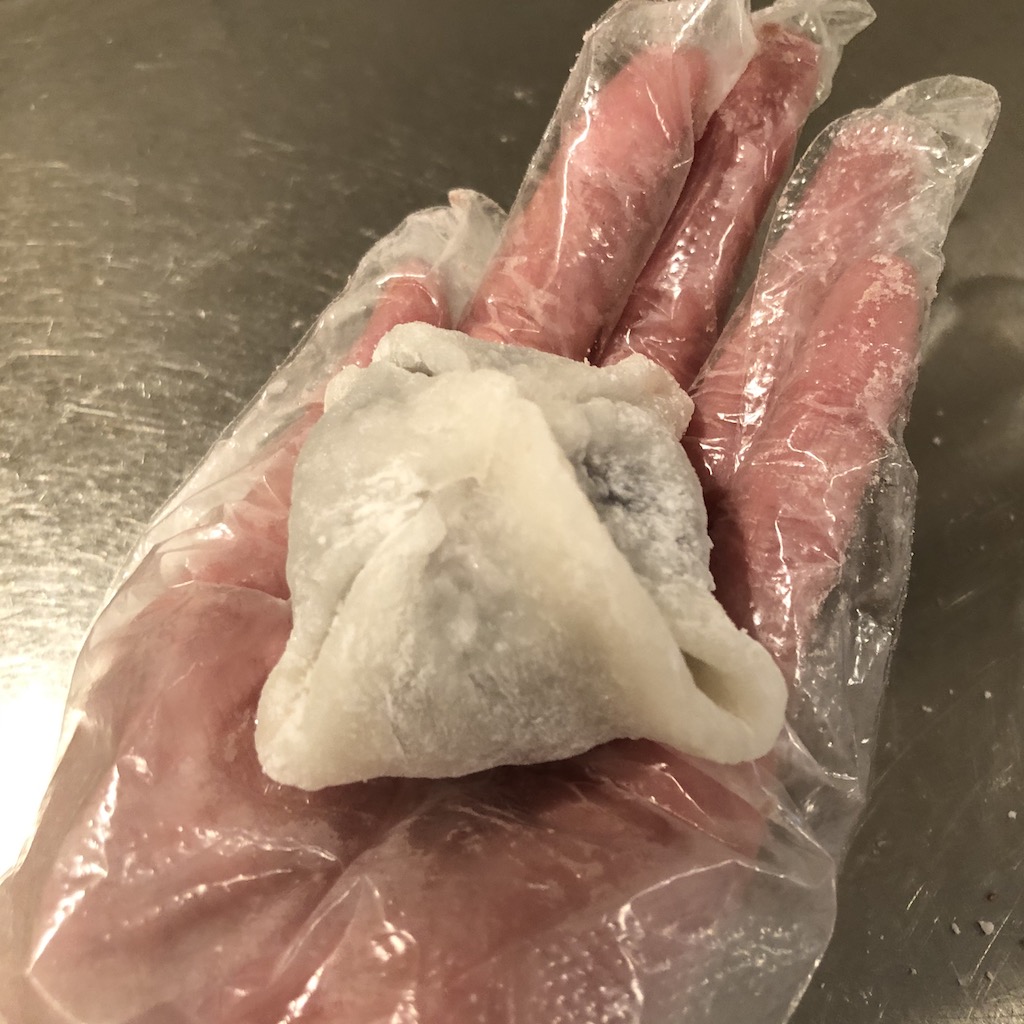
Then wrap it up.
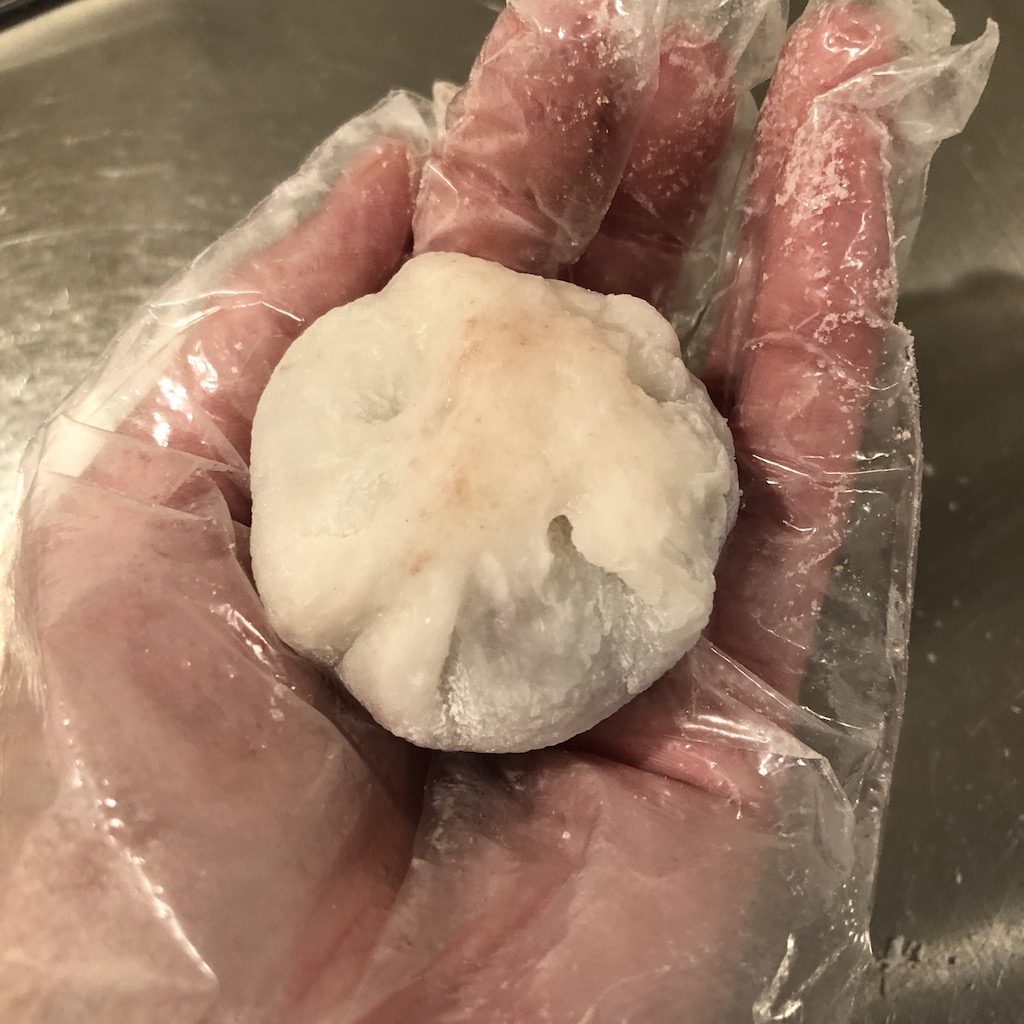
 Shape it by pinching and twisting with your fingers like this.
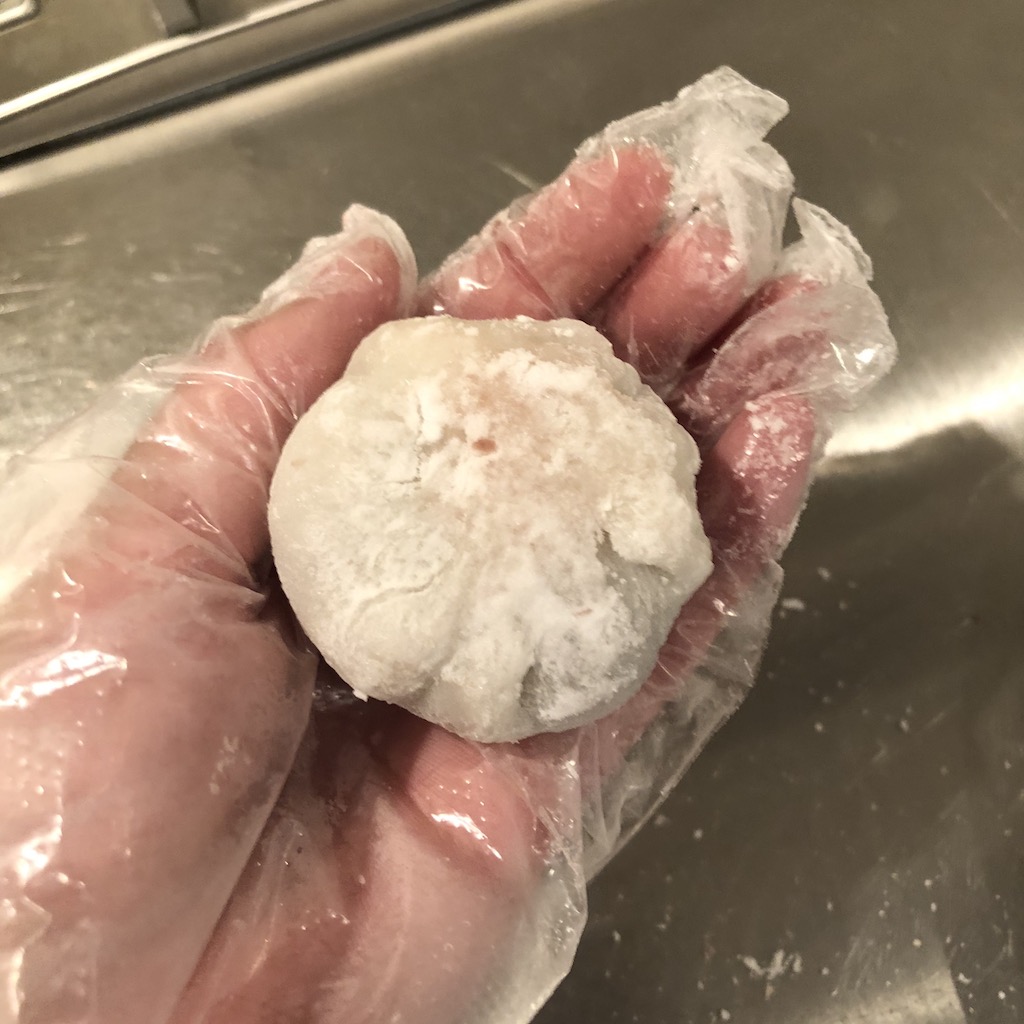
After finish up, make sure you put a little potato starch on bottom of daifuku so that daifuku won’t stick to the plate.
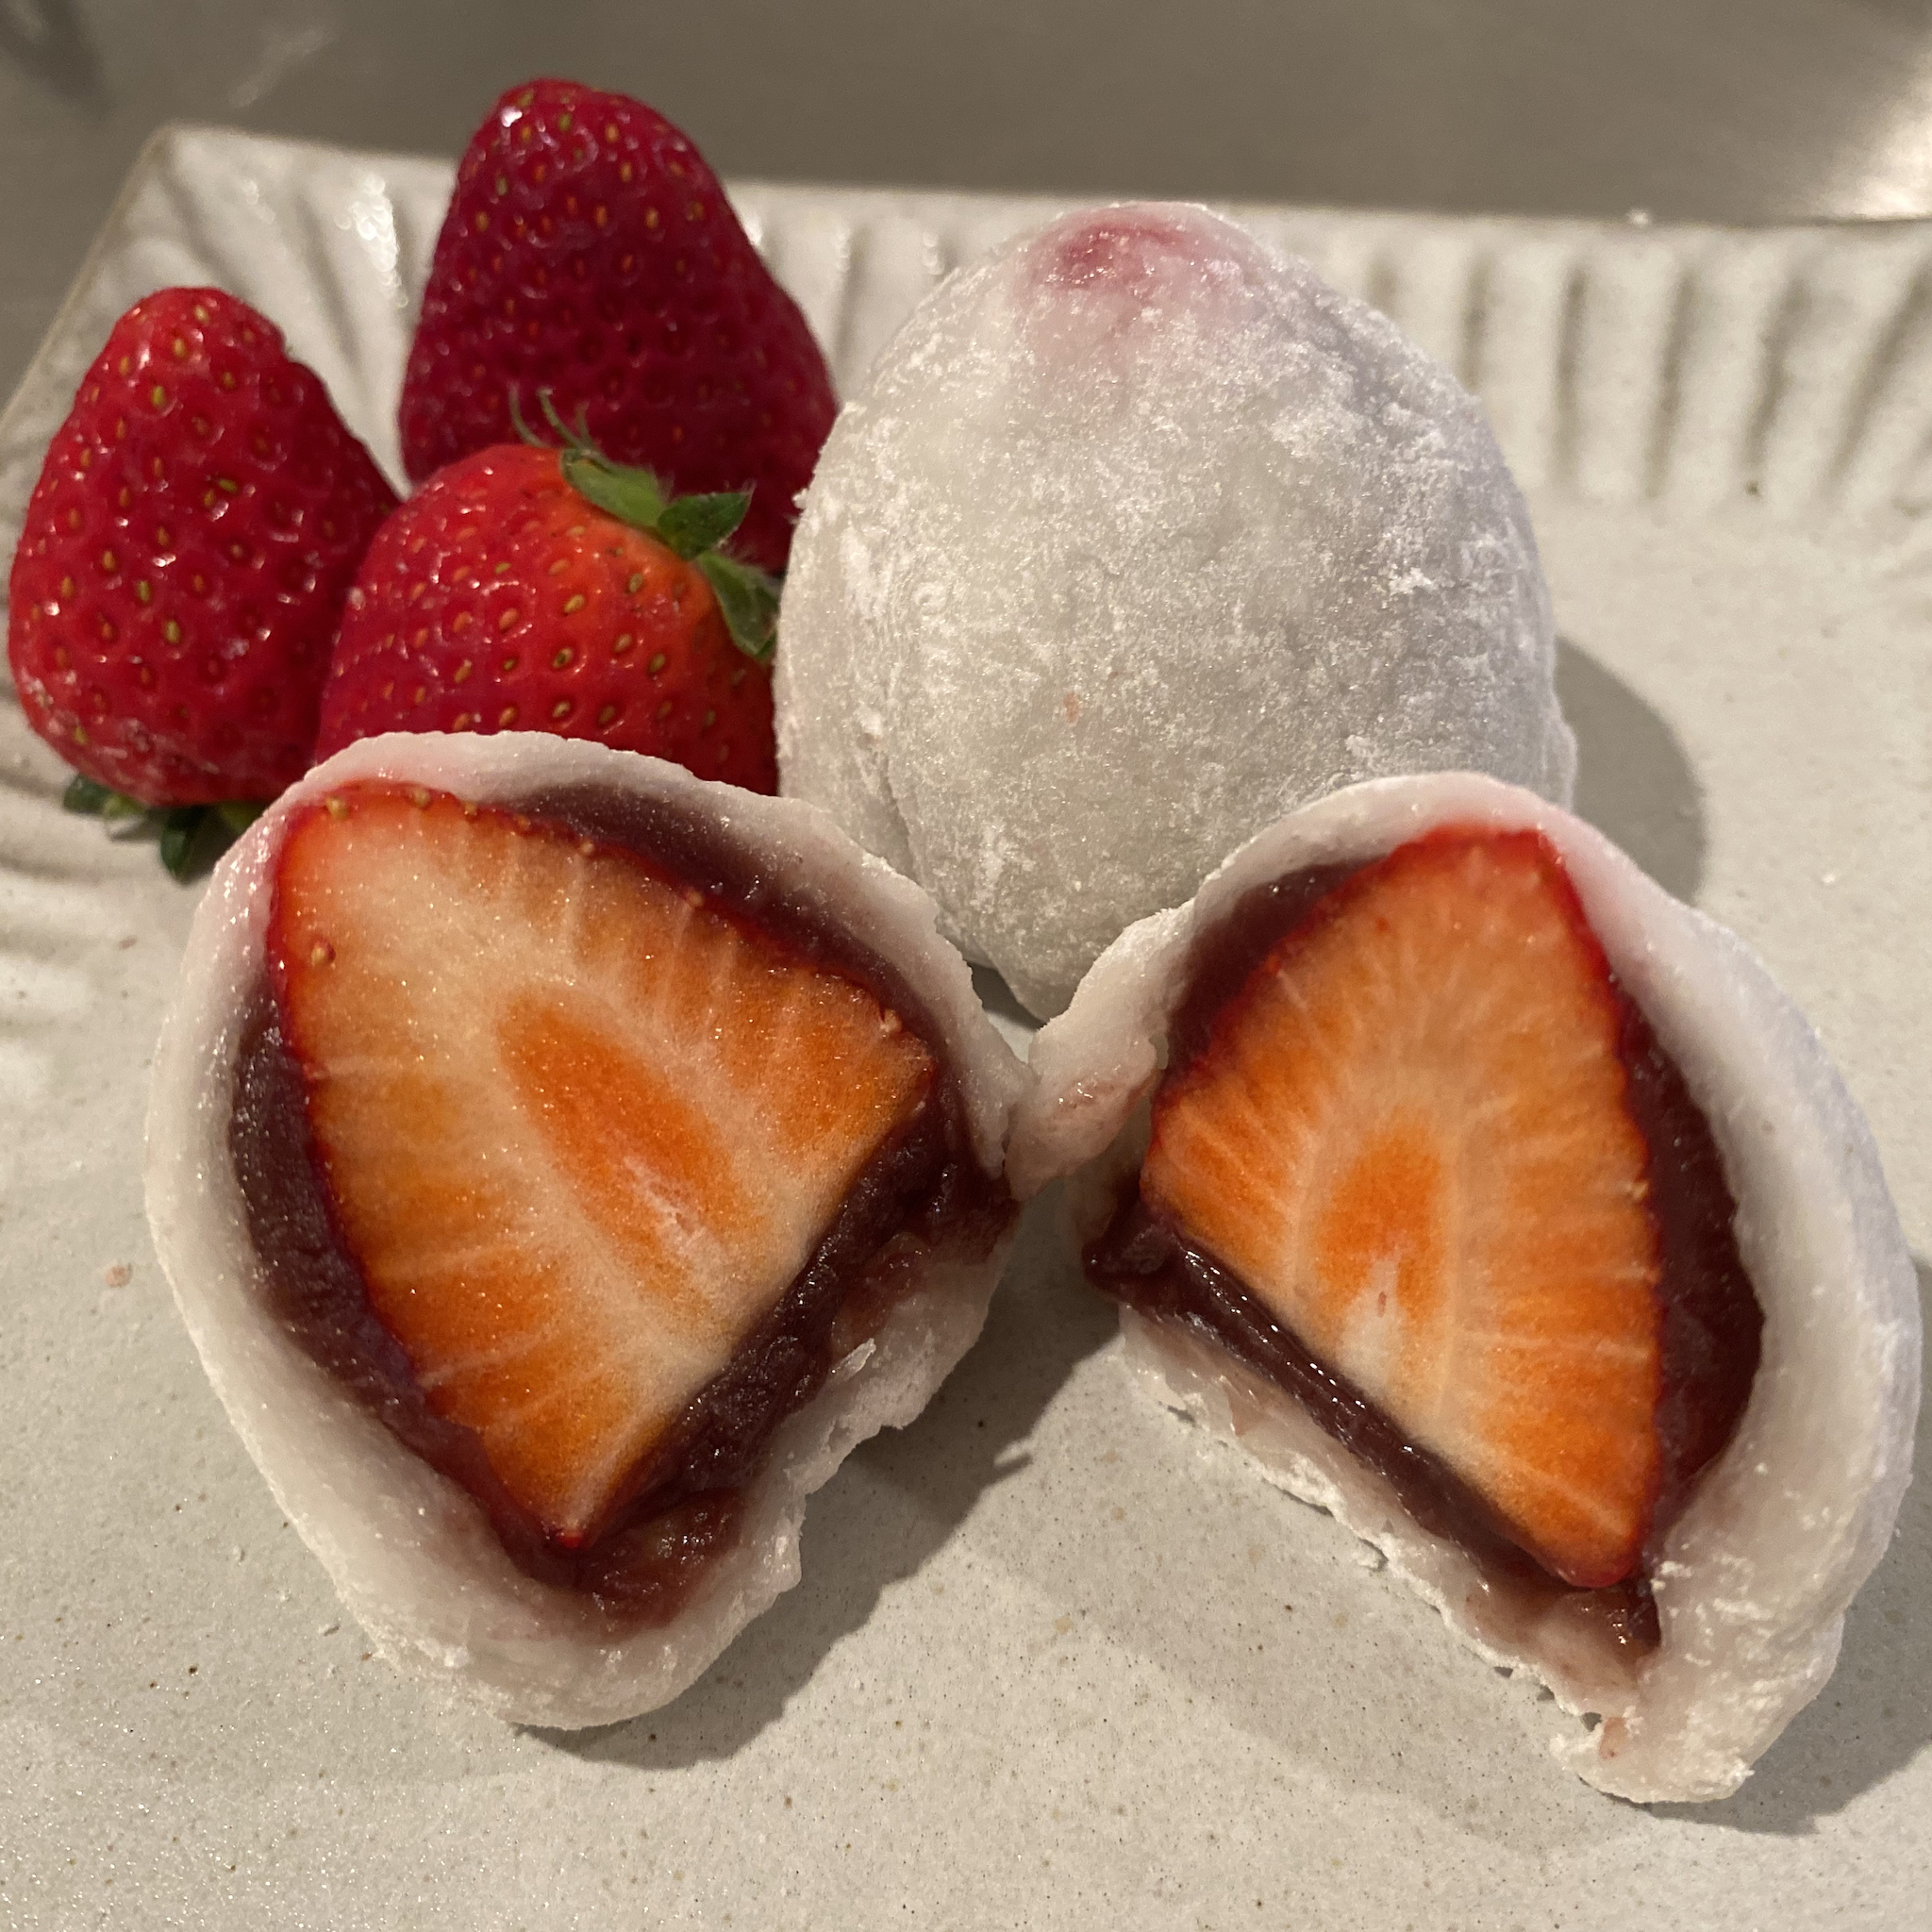 Ready to eat!
You can put them in your refrigerator by the way.
But I highly recommend to eat all within a day or two, otherwise the mochi becomes hard and not so tasty.